Step 1: Download your chosen update package from list belowand extract the zip file onto your windows desktop. (Windows only at this stage)
Step 2: Plug a Wheel Turtle PRO into your Windows PC with the Wheel Turtle USB cable.
Step 3: Open the folder you extracted, and double click on WheelTurtle Updater.exe
Step 4: Choose ‘ESP32-S3‘ as the chip  Select ‘develop‘ as the mode USB as LoadMode and then press OK button.
Step 5: Fill in the screen as per this image:

Step 6: The new version flash will begin. The process completed successfully if the window shows the messages in this image.

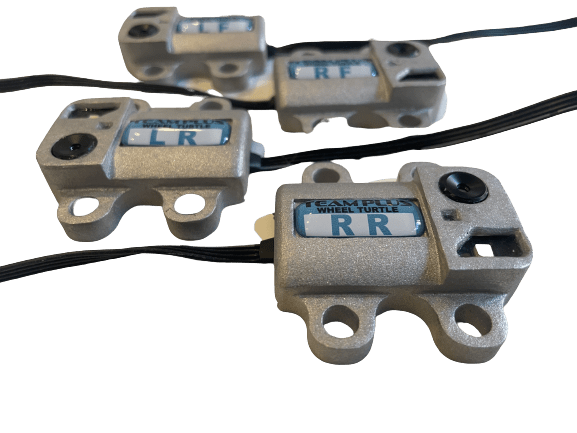
Step 7: Disconnect USB cable from Wheel Turtle PRO and repeat for the other Wheel Turtle PROs, changing the COM: setting for each new Wheel Turtle you attach.
Step 8: IMPORTANT: V2.1 firmware update will change the Wheel Turtle PRO options back to default, and will set the wheel turtle location to be LEFT REAR. You will need to use the Team Plus TELEDASH app to set the correct location and any other options you may have set before.